







Rescue Dark Venue Videos From Phone-Filmed Gigs: What’s Actually Fixable
 Story by:
Music Blog
Story by:
Music Blog
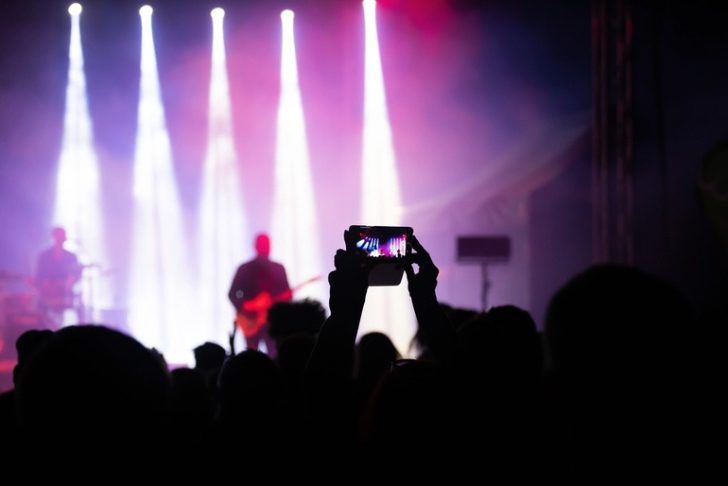
Have you ever filmed your favorite song at a show and at first thought, “Awesome, got the moment!” … but then you watch it back, and it’s too dark, grainy, and blurry.
It barely feels like you were at the same venue.
Does that seem familiar? You’re not the only one!
Concert venues are arguably one of the most challenging spots to even take photos with your phone. Given the dark conditions, flashing lights, and constant motion on stage, even good phones have their limits when it comes to capturing the magic of a live music performance in excellent photos. An incredible sound, fantastic movement, and lighting in concert can make it challenging to hold the moment extremely clear on camera.
Let’s instead ask the question that is of interest: Can the footage currently in possession be salvaged, and what is feasible?
Let’s take a look at this in this article.
Two Specific Mistakes Cause Worst Gig Footage: Which One Happened to Yours?
Before you put that concert footage in the recycle bin, ask yourself this one question: What went wrong? The answer to that will decide whether your video has a decent chance of being cleared.
Path 1: The Footage Is Bright but Blurry or Smeared (Night Mode)
The stage sure is bright.
So why does it feel like the singer’s suddenly teleporting? Your phone probably overdid it with night mode!
To brighten dark scenes, many phones use longer exposures or combine multiple frames. This is fine in a quiet street at night.
But at a crowded gig with strobes and movement happening all over the place, this technique will still likely lead to that ghosting effect as movements and blurry features get blurred together and blended.
The bad news? This is the tougher problem to fix. Once those blurry frames have been merged, no magic “unblur” button can fully reverse it.
Path 2: The Footage Is Dark and Grainy (High ISO, No Night Mode, or Digital Zoom)
Instead, is your video just plain dark, grainy, and a little muddy? This may not seem ideal for now, but don’t start panicking. In fact, this is the good news!
This can happen when your phone boosts the ISO (your camera’s sensitivity to light) because you were shooting in a dark room, or if you pinch to zoom from the back of a stadium, leaving the footage looking noisy and far from the more mature sound you may have expected.
Unfortunately, digital zoom is really… just cropping the image, leaving even less detail.
You know what’s surprising?
A crisp (grainy) video is usually easier to clean than a bright (blurry) video. Grain can almost always be reduced; motion blur resulting from combining images from multiple exposures is very difficult to fix.
What’s Actually Worth Fixing
Therefore, is your concert shot worth saving, or is it time to hit the skip button on this video? Well, that all depends on what kind of footage you’re dealing with.
Grainy but in focus?
A dark and grainy video with overall decent sharpness is likely cleanable.
Even turning up the brightness level on your phone video editor will probably only highlight and magnify any existing graininess, and that time you turned up the brightness, and it looked…
Less great? Well, it happens.
This is when Zawa AI Video Enhancer truly shines. Instead of manually working on brightness, sharpness, color, and other adjustments individually, it does it in one shot! It will brighten shadowed portions of a clip, adjust color automatically, remove digital noise and compression-related defects, make the image sharper, and even upscale a clip to HD or 4K if that applies.
It’s also easy to get started on. No editing knowledge required; import your clip from MP4, MOV, or M4V, and allow AI to automatically enhance it, preview, and export the completed video.
If your clip is more ghost-like or blurry, what do you do? If it is real-time, it’s worth a try.
Do not pray for miracles, though.
While AI can maybe repair the color, spice, and lighting, it does not affect noise, which may have been brought on by blending exposures in your smartphone, and has no impact on any motion blurring that occurred.
What a Salvaged Clip Actually Looks Like
A salvaged clip won’t look flawless, but it can look good enough to bring that night back to life. Here’s what a realistic improvement actually looks like.
Don’t Expect Miracles: Expect a Better Memory
If your video was dark and grainy but still sharp, there’s a good chance it can go from “I’m never posting this” to something you’d happily share with friends or upload online.
If the reason your clip was blurry is due to night mode, the results are a little different.
With night mode footage, you’ll likely find you’re able to recover a decent balance in color, brightness, and even some grain, but that blurry motion effect is still going to be there.
It’s just good to be aware of that instead of wondering why it never quite becomes crystal clear.
A Small Habit For Your Next Gig
Looking for more videos worth saving?
Easy rule of thumb: Turn off night mode on the phone and don’t attempt the Zoom from, say, row 500 in the back. You aren’t getting any closer.
The Goal Isn’t Perfection.
But hey, we’re not filming an award-winning documentary!
More often, we’re just trying to recreate that one awesome night to remind us how much fun we had. And if your video really captures the right energy and lights, it can bring back those little details you remember most, especially for people filming at gigs who want to relive the crowd singing along, the stage glowing, and the excitement that made the night worth remembering.
And more often than not, it’s more fixable than it first appears.
A Quick Checklist Before You Enhance Your Concert Video Next Time
You can’t expect every clip to be improved equally. Spend 30 seconds checking a few things before you push the ‘Enhance’ button.
Is The Clip Sharp Enough?
Stop on a frame when the performer isn’t moving too much. Do you see the details under all the grain and blackness?
If yes, then you are on to something.
Can You Tolerate a Bit of Blur?
If the whole clip is ghosted from the first frame to the last, do not expect a miracle. The clip will improve, but motion blur will persist.
Is The Clip Worth Keeping?
Perhaps the clip is technically imperfect, but the crowd is singing your favorite song. A flawless guitar solo? Whatever, it may be enough of a reason to give the clip another chance.
Keep The Original Video.
One final piece of advice: don’t overwrite your video, save it separately, and tweak your AI video enhancer settings to see if you get even better results, perhaps using a different AI app.
Preserve the Experience
So, before you delete those concert videos, you owe them at least one last chance. Are they grainy and dim or just blurred from the get-go? A single question like this one could shave hours off your task, and you may even save the memory of a great time. If your footage falls into the more fixable category, then it’s best to start your journey with Zawa’s AI Video Enhancer. Simply apply enhancement with one click and enjoy brighter dark spots, diminished noise, sharp outlines, and increased visibility without having to tinker with the settings.
After all, top concert videos aren’t designed to look like some movie, but to put you right there, amongst the lights, fans, and the song you drove all the way home singing. The goal is to preserve that feeling of being in the crowd, catching the performance as it happened rather than turning it into something overly polished or artificial.



Comments 0
No Readers' Pick yet.